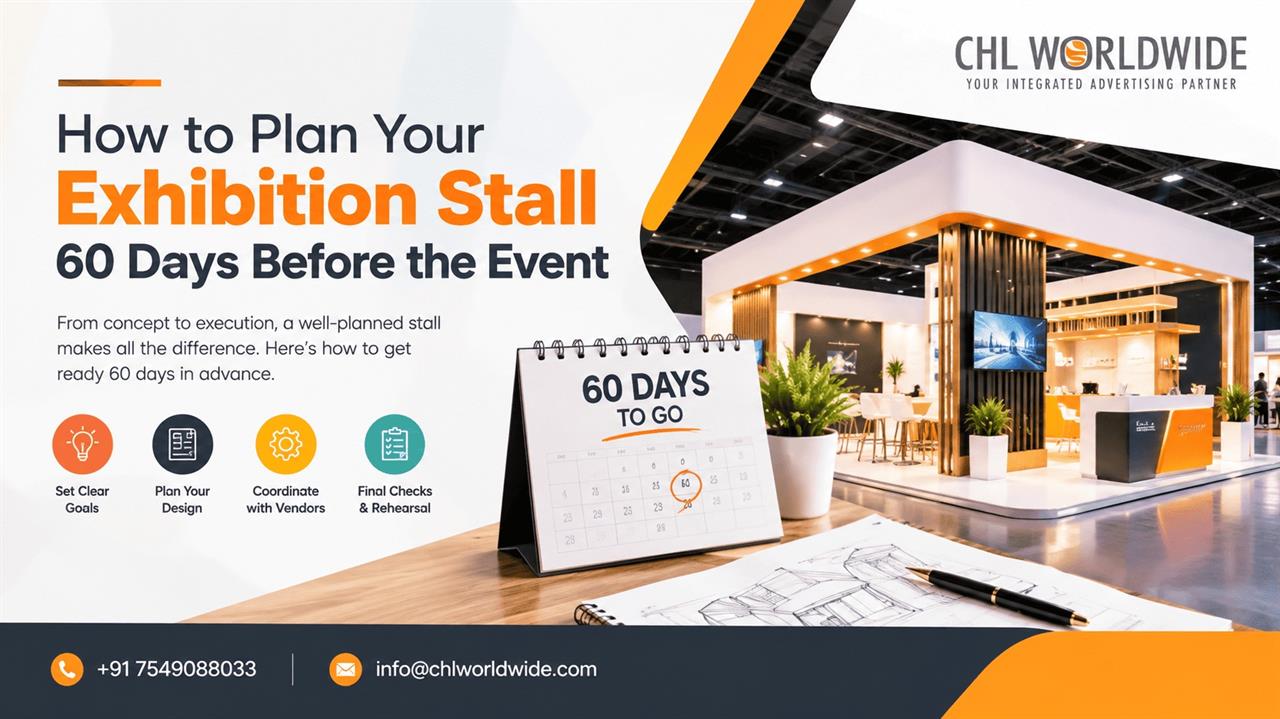
How to Plan Your Exhibition Stall 60 Days Before the Event
28-Sep-2026
Introduction
Good exhibition stall planning starts about 60 days before the show. Use the first two weeks to set goals, budget and stall requirements. Use weeks three to five to finalise the design and graphics. Use the remaining time for fabrication, logistics and pre-show marketing. Working backwards from the event date keeps costs under control and leaves room for changes.
Most exhibitors don't struggle because their stall looks bad. They struggle because they started too late. A rushed brief lead to rushed decisions and rushed decisions cost money. Most successful exhibitors begin their exhibition stall planning about 60 days before exhibition day, not in the final week.
Why Start Exhibition Stall Planning 60 Days Early?
Sixty days gives you enough time to do things properly without over-planning. A stall has many moving parts: space booking, design, organiser approvals, fabrication, graphics printing, transport and on-site setup. Each step depends on the one before it. If you start earlier, you have time to compare options and fix mistakes. If you start later, you usually pay for speed through rush charges or compromises on quality. A clear exhibition stall planning timeline turns a stressful project into a series of small, manageable steps.
Days 60 to 50: Set Your Goals and Basics
Before anyone draws a sketch, answer a few simple questions. What is the goal of the show: lead generation, a product launch, brand visibility or meeting existing clients? What is your total budget? Remember to include design, build, graphics, transport, electricity, staff and marketing, not just the stall itself. How big is your space, and who exactly are you trying to reach: buyers, distributors, end customers or industry peers?
Write these answers on one page. This becomes your brief, and it keeps every later decision consistent.
Days 50 to 40: Understand Your Exhibition Stall Requirements
Next, list what the stall actually needs to do. Typical exhibition stall requirements include a product display or demo area, a meeting corner, storage for brochures and samples, an enquiry counter, lighting, power points, screens and branding on every visible side.
Read the organiser's manual carefully at this stage. It usually lists height limits, fire safety rules, flooring rules and the last date for submitting drawings. Missing these is one of the most common and avoidable problems in exhibition booth planning.
This is also the right time to shortlist an exhibition stall design company. Ask to see past work in your industry, ask how many design revisions are included, and be clear about who handles fabrication and on-site installation. When you compare exhibition stall design services, look at what is included, not just the price.
Days 40 to 30: Finalise Stall Size, Layout and Design
This is the creative stage. Your design partner will share concepts, and you will pick a direction. Start with stall size and layout, because the layout decides how visitors move through your space. A well-thought exhibition stall layout guides visitors naturally from the aisle to your product. Keep the entrance open so people feel welcome to step in. Give products room to breathe, since a crowded stall feels confusing. Plan a simple visitor path: attract, engage, talk, then follow up. If your stall has two or more open sides, brand all of them.
When you review exhibition stall design ideas, ask three questions. Can someone understand what we do in five seconds? Is the message readable from a distance? Does the look suit our audience and industry? Good exhibition display design also keeps key products at eye level and leaves enough space around them. Simple designs with a clear message usually work better than complex ones.
Days 30 to 25: Lock Branding and Graphics
Your exhibition branding should make your stall easy to recognise in a crowded hall. Decide on a short, benefit-focused headline, the placement of your logo at and above eye level, the product images you will use and the colours that match your brand guidelines.
Good exhibition stall graphics are large, clean and easy to read. Avoid long paragraphs on walls, because visitors walk past quickly and one strong line beats five weak ones. Ask for print-ready files early, and check spellings, phone numbers and website addresses twice.
Days 25 to 15: Fabrication and Approvals
Once the design is approved, fabrication begins. Submit drawings to the organiser if required, confirm materials, finishes and lighting, and approve a sample or mock-up of key elements where possible. Confirm your electrical load and book your power points. Avoid major design changes at this stage. Small tweaks are fine, but big ones affect both cost and timelines.
Days 15 to 7: Logistics and Pre-Show Exhibition Marketing
While the stall is being built, shift your attention to visitors. Good exhibition marketing starts before the show opens. Message your existing clients and prospects with your stall number, announce your participation on LinkedIn and other social channels, and book meetings in advance where you can. Prepare brochures, samples, giveaways and lead capture forms. Also finalise transport, staff schedules, accommodation and a short briefing for your team.
The Last 7 Days: Final Checks
Use the final week for exhibition preparation checks. Confirm that graphics are printed and proofread, products and samples are packed, and lights, screens and electrical items are tested. Make sure staff know their roles, talking points and follow-up process. Pack a small emergency kit with tape, cable ties, extension cords and cleaning cloths.
Your 60-Day Exhibition Planning Checklist
Your 60-day exhibition planning checklist can be short. Set goals and budget first, then list requirements, finalise layout and design, approve graphics, complete fabrication, and end with logistics, marketing and final checks.
Common Mistakes to Avoid
The most frequent mistakes are starting the design before defining goals, ignoring organiser rules until the last week, filling walls with too much text, forgetting storage and power requirements, and leaving staff briefing and lead follow-up plans for the final days.
Final Thoughts
Exhibition stall planning does not have to be complicated. Break it into stages, give each stage a deadline, and keep your goals visible. With a clear 60-day plan, you can spend show days talking to visitors instead of solving problems. If you would like help with concept, design or execution, CHL Worldwide's team can guide you from the first brief to the final setup.
Frequently Asked Questions
1. How early should I start exhibition stall planning?
Ideally 60 days before the event. This gives enough time for design, approvals, fabrication and marketing. For large or custom stalls, starting 75 to 90 days ahead is safer.
2. What should an exhibition stall planning checklist include?
It should cover goals, budget, stall size, design and layout, branding and graphics, materials, electrical needs, logistics, staff, marketing and final checks.
3. How do I choose an exhibition stall design company?
Look at their past work in similar industries, ask what their exhibition stall design services include, check how revisions and on-site support are handled, and compare timelines and communication style, not only price.
4. How much space do I need for my exhibition booth?
It depends on your goals. A small stall may work for simple product display, while demos, meetings and storage need more area. Match the stall size and layout to what you plan to do there.
LATEST ITEMS
OUR FAVORITES

30-june-2022
29-june-2022